Introduction
I am organizing my workspace at home in order to streamline how I work on electronic projects. As a result of this, I needed a second breadboard and multimeter next to my main computer on the first floor. All the heavy equipment (power supply, bench multimeter, solder iron, etc) would be moved to the basement. While enjoying one of my last two Cohibas, I started jotting down the requirements for this project.
Requirements
I tend to work on one project at the time. I normally use the ETS-7000 Analog and Digital Trainer as my primary breadboard. It’s been modified to hold two development boards with the Arduino form factor. A Fez Panda and an Arduino Uno are part of my arsenal. See Figure 1, Arduino Uno is missing from the picture.
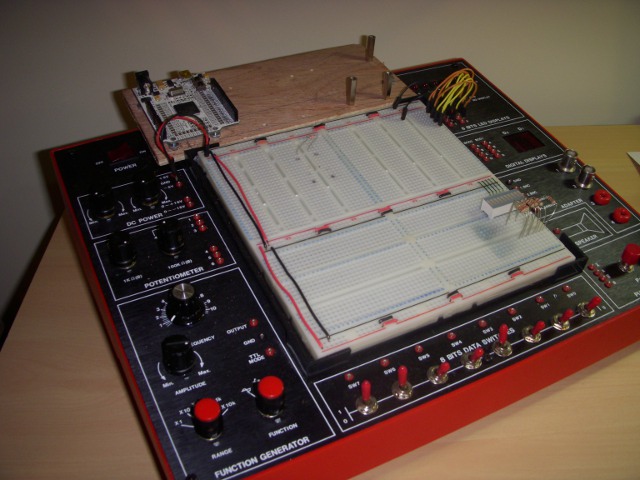
Figure 1 - ETS-7000 Analogue and Digital Trainer
The ETS-7000 does the job, but there have been times when I want to breadboard a concept and the breadboard does not have enough real state or the Arduino Uno is connected to a bunch of wires. This would be a good opportunity to ease some of these pains and create a platform on top of which I can build up in the future. The new breadboard system should have the following features.
- Large real state to be able to work on complex projects or have multiple prototypes on the board.
- Keep Arduino board fixed to prevent sliding or causing a short circuit.
- Portable in order to move between first floor and basement.
- Replaceable breadboards in order to swap projects.
- Multiple Arduino boards to work on communication projects between Arduinos.
- Large unconventional breadboard area in order to test breakout boards.
In a nutshell this covers everything that I need. Instead of relying on supporting devices (power supplies, LED, switches, etc) permanently attached to the breadboard as in the case of the digital trainer, I would rely on external devices and breakout boards as much as possible.
Implementation
I found the best deal for individual breadboards at Electronic Express. To host the boards, an empty box of Cohibas with a drawer handle did the job perfectly. The drawer handle levels both side of the box when it is open. I put the faceplate of an old clock in the front for decoration. See Figure 2 for an outside view of the box.
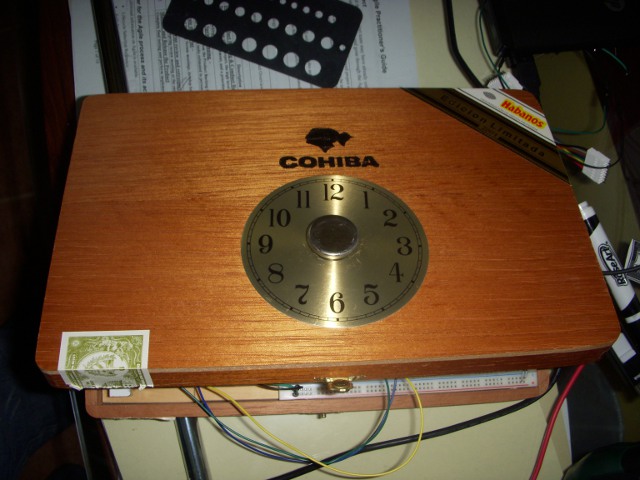
Figure 2 - Cohiba Board
There is room for two Arduino boards and if the breadboards are empty, you can close the box with the Arduino boards inside. See Figure 3, for an internal view of the right hand side of the board.
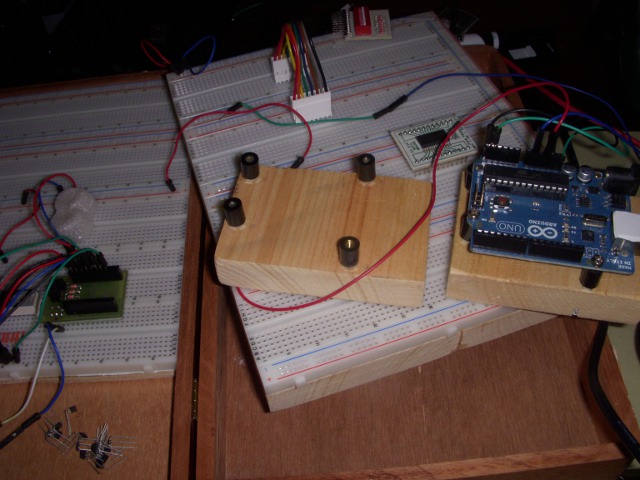
Figure 3 - Right Hand Side Of Board
The breadboards are attached to a 1/2 inch, 7 x 9 board, that fits nicely in the box of Cohibas. Attaching the breadboard to the wooden board allows them to be swapped in and out of the box as needed. The left hand side of the board is fixed and it is screwed to the drawer handle with a flat nut. The Arduinos are attached independently and can be swapped if necessary. Figure 4, shows the Cohiba box open with all the breadboard real state.
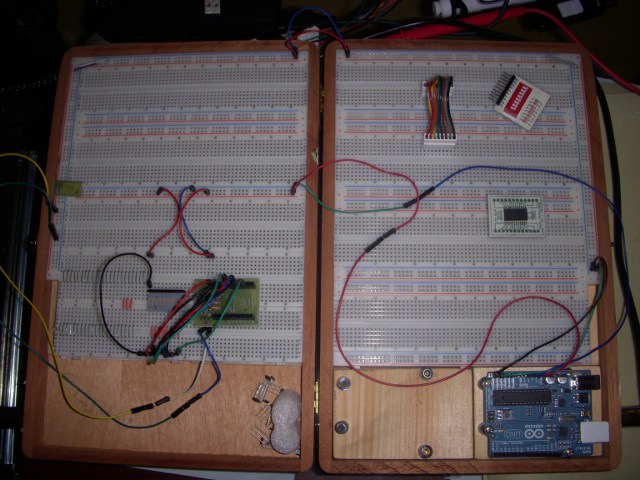
Figure 4 - Full Cohiba Board
The outer bus is used as a data bus for I2C and SPI. The bottom of the left hand side has two breadboards without buses. This arrangement allows me to use larger than normal breakout boards. Staples are used to connect the buses as needed.
Conclusion
Independently of the project or field, the ability to make the most of the resources you have is one of the best tools in your arsenal. You can get empty cigar boxes from your local cigar store. You may get them for free or for a couple of dollars. Between cutting and sanding the boards, using a Dremel to trim the connection points of the outer data bus, it took me a couple of hours to put this project together. Now all I need is another box with fresh Cohibas to get started on the next project!

