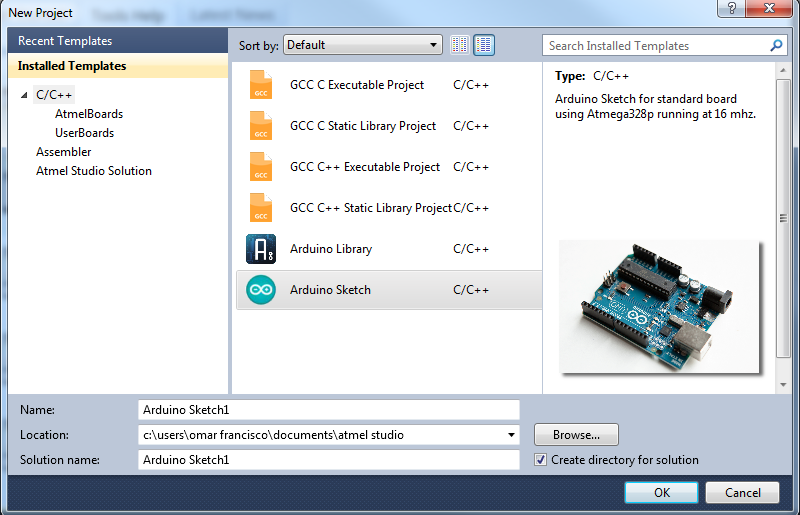
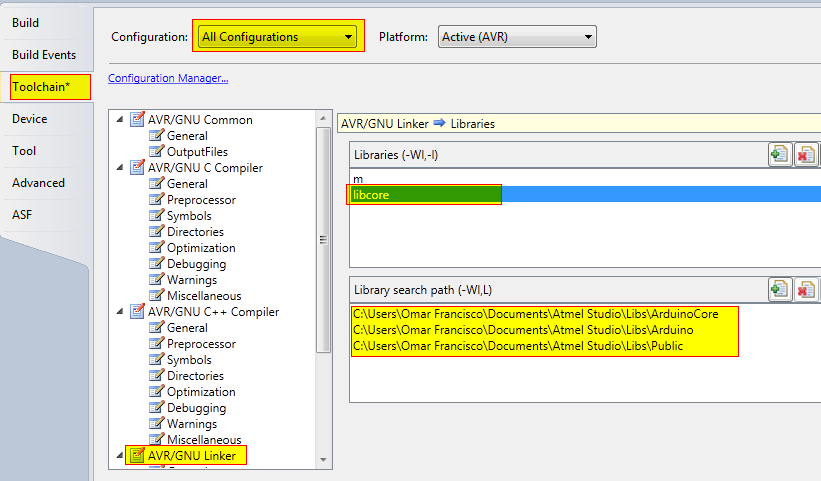
I remember spending countless hours compiling the Linux kernel back in my college days. That experience helped me develop a taste for command line utilities and the productivity they bring to a developer workflow. As you expand your horizons experimenting with AVR micro-controllers and Arduino boards, the time will come when you will need to compile the Arduino core libraries for a new or existing board. The reasons could range from experimenting with a board at different frequencies to using other Atmel micro-controllers. This post covers how to add a new development board to the Arduino Template Express environment and then compile the libraries it supports. This post is part of the Arduino Template Express (ATE) series. You may also be interested in these other posts:
- Arduino Template Express – Installation
- Arduino Template Express – Creating a Sketch
- Arduino Template Express – Creating a Library
- Arduino Template Express – Using ATTiny Micro-Controllers
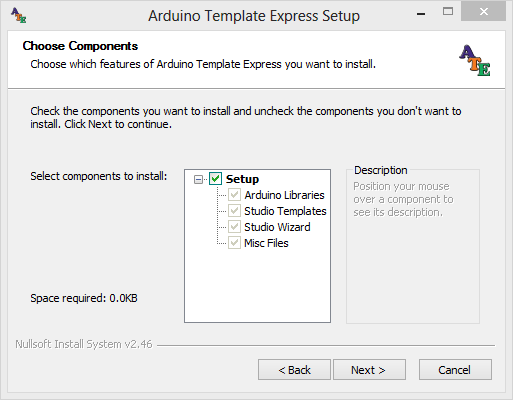
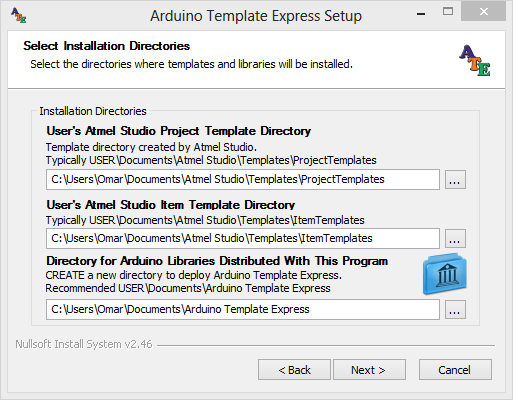
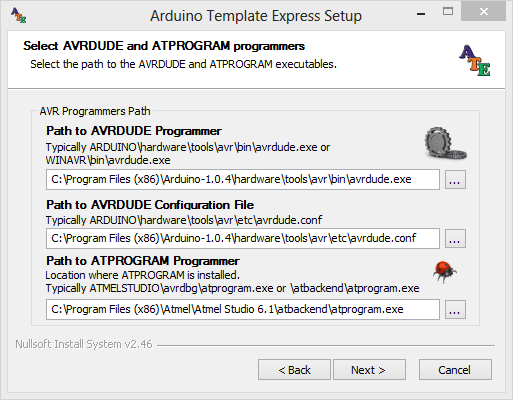
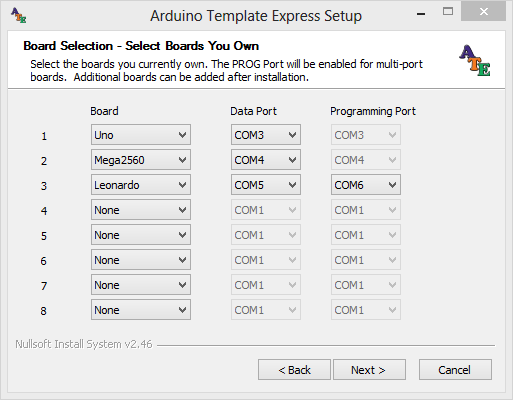
Prerequisite
In order to follow this tutorial you will need to have installed Arduino Template Express (ATE). You will also need msbuild installed and available in your application path together with a few add-ons. To install ATE follow the Arduino Template Express – Installation. Atmel Studio 6.1 is based on Microsoft Visual Studio. My expectation is msbuild 4.0 is installed with Atmel Studio when it installs the dotnet framework, but I cannot verify that is the case because I had Microsoft Visual Studio already installed when I installed Atmel Studio. To check if msbuild is installed open a command window and type the following command.
reg.exe query "HKLM\SOFTWARE\Microsoft\MSBuild\ToolsVersions\4.0" /v MSBuildToolsPath
If reg.exe comes back with unable to find the specified registry key or value, msbuild is not installed. You will need to download the full Dotnet Framework 4.0 from Microsoft. You will also need to install the msbuild community task and the msbuild extension pack.
Registering the New Board
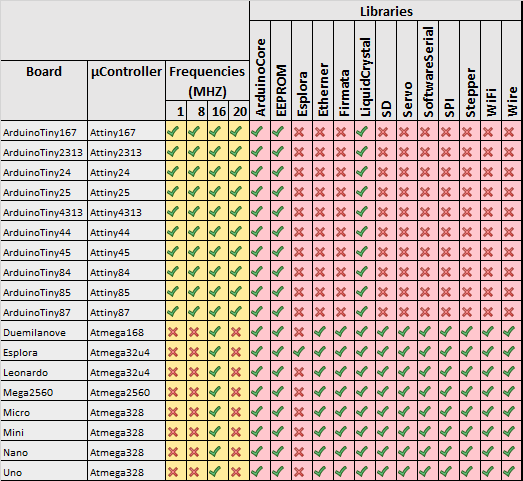
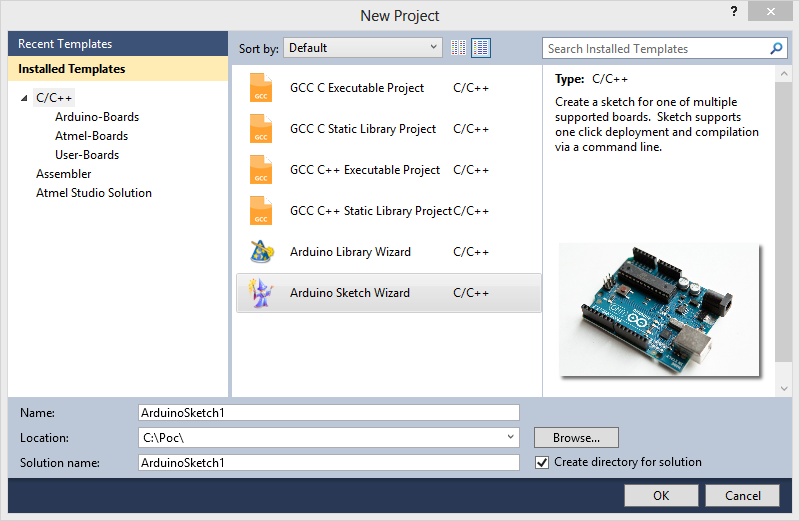
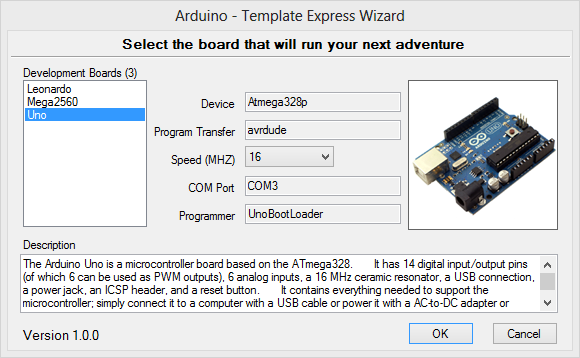
Figure 1 contains a list of the libraries and boards supported by Arduino Template Express (ATE). For the purpose of this tutorial, I am going to add support for the Arduino Mega 1280 board.
The task of compiling core libraries for a new board requires registration of the board in the boards.xml file and registering a reference to the new board in the project for each library you want compile. Let’s take care of registering the Mega1280 board first. Since the Mega2560 and the Mega1280 are very similar boards, I am going to use the entry for the Mega2560 as a model. Follow these instructions:
- Locate the directory where ATE is installed. Typically USER\Documents\Arduino Template Express. If you are not sure open a command window and type set | find “ATE_HOME”. It will display the environment variable ATE_HOME which points to the location where ATE is installed.
- Open %ATE_HOME%\boards.xml with your favorite editor. Copy the <BoardList> entry for the Mega2560. In the original file it begins on line 51 and ends on line 71.
- Paste the entry and make the changes illustrated in listing 1. I have used the description of the board provided in the Arduino site.
    <BoardList Include="Mega1280" >
        <Processor>ATmega1280</Processor>
        <Location>Mega1280</Location>
        <Variant>mega</Variant>
        <Vid>null</Vid>
        <Pid>null</Pid>
        <SkipFrequencies></SkipFrequencies>
        <SkipLibs></SkipLibs>
        <DefaultProgrammer>Mega1280BootLoader</DefaultProgrammer>
        <EnableForProjects>true</EnableForProjects>
        <EnableForLibCompilation>true</EnableForLibCompilation>
        <DefaultSpeed>16</DefaultSpeed>
        <BitmapName>external.mega1280</BitmapName>
        <DataPort>COM5</DataPort> <!-- Use the port supported in your environment -->
       <SupportedFrequencies>16</SupportedFrequencies>
       <Description>
       The Arduino Mega is a microcontroller board based on the ATmega1280 (datasheet).
       It has 54 digital input/output pins (of which 14 can be used as PWM outputs),
       16 analog inputs, 4 UARTs (hardware serial ports), a 16 MHz crystal oscillator,
       a USB connection, a power jack, an ICSP header, and a reset button.
       It contains everything needed to support the microcontroller; simply connect it
       to a computer with a USB cable or power it with a AC-to-DC adapter or battery
       to get started. The Mega is compatible with most shields designed for the
       Arduino Duemilanove or Diecimila.
       </Description>
     </BoardList>
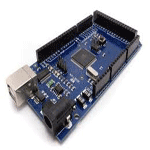
Note that for the graphic that is displayed with the board when the new project wizard is launched I have specified external.mega1280. This tells the wizard to look in the %ATE_HOME%\Graphics for a file named external.mega1280.png. The size of the picture must be 150×150 pixels and the format must be png. Figure 2, illustrates the picture of the board used. Save it to %ATE_HOME%\Graphics and make sure it is named external.mega1280.png.
Next step is to take care of the default programmer for the Mega1280. I declare Mega1280BootLoader to be default programmer. A development board can be configured to support multiple programmers (bootloader,ISP,custom,etc) and the desired programmer activated from the sketch project. Search for Mega2560BootLoader. It should be around line 471. Copy the content from line 471 to line 480 and paste it.. Listing 2, illustrates how the programmer entry should be changed.
   <Programmer Include="Mega1280BootLoader">
        <ComPort>COM5</ComPort> <!-- Use the port supported in your environment -->
        <Protocol>wiring</Protocol>
        <ComPortSpeed>115200</ComPortSpeed>
        <ProgTransfer>avrdude</ProgTransfer>
        <Verbosity>-v</Verbosity>
        <MiscParams></MiscParams>
        <SupportEEPROMTransfer>false</SupportEEPROMTransfer>
        <Comment></Comment>
    </Programmer>
Change the ComPort entry as needed in your environment. The Programmer entry in listing 2 uses avrdude and the wiring protocol to program the board. You could also use an ISP programmer if you are not going to use the bootloader. When the option to upload a sketch is pressed in Atmel Studio, this is the entry that drives how the sketch is uploaded to the development board. We are now ready to add the Mega1280 board to the Arduino core libraries to complete the process.
Adding the New Board to Target Libraries
The first library we are going to test is the ArduinoCore library. Open the project %ATE_HOME%\Source\ArduinoCore\ArduinoCore.atsln. Next open the file Scripts\TagetBoards.xml. The TargetBoards.xml contains a list of all the boards supported by the ArduinoCore library. When compiling all supported boards from the command line, the build script loops through the list of supported boards and makes each supported board the active board, changes variables and references according to each board profile and compiles the code. Finally the compiled code is copied to the %ATE_HOME%\Source\_Stage\BoardName\Libs\Frequency. Follow these steps to take care of the changes.
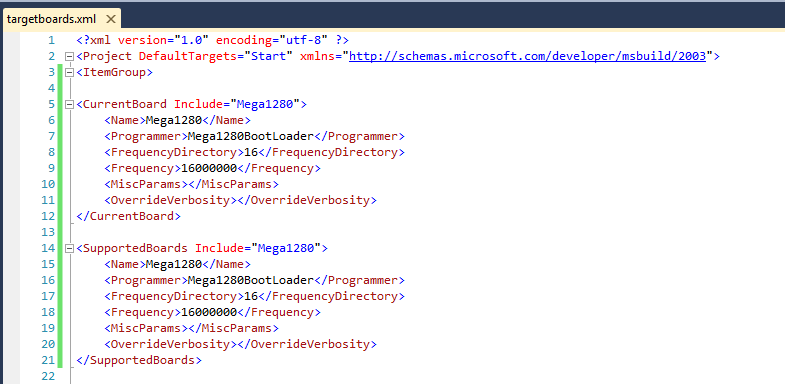
- Create an entry for a new supported board and name it Mega1280 (the name must match the name used in the boards.xml). Use the default programmer (Mega1280BootLoader) and frequencies configure in boards.xml.
- Modify the CurrentBoard entry (first one in the file) to also reference the Mega1280 development board. This step is very important. By making the Mega1280 the CurrentBoard, the core library will only be compiled for the Mega1280 when you invoke the MakeIt.bat script with the Compile parameter. If you skip this step, you will need to call MakeIt.bat with the CompileAll parameter which will take a while since the code will be compiled for all boards and it will get to the Mega1280 based on its position in the list. See Figure 3 for an illustration of how the beginning of the TargetBoards.xml file should look like after the changes are done. Do not delete the list of all the other boards supported. We are done with the changes, let’s go ahead and compile the code.
Compiling Arduino Core
There is a “feature” of msbuild that prevents the scripts distributed with ATE 1.0.2 Beta 3 from running when there are spaces in the path. I have a fix that will take care of this in the final ATE 1.0.2 release. If you have ATE 1.0.2 Beta 3, copy the folder %ATE_HOME%\Source to the root of your C:\ drive, you will end up with a c:\source folder. If you have a folder name source already in your c:\ drive you can provide any name you want as long as it does not have a space. Follow these instructions:
- Open a command window. All prerequisites discussed at the beginning of the post need to be met for the rest of the instructions to work.
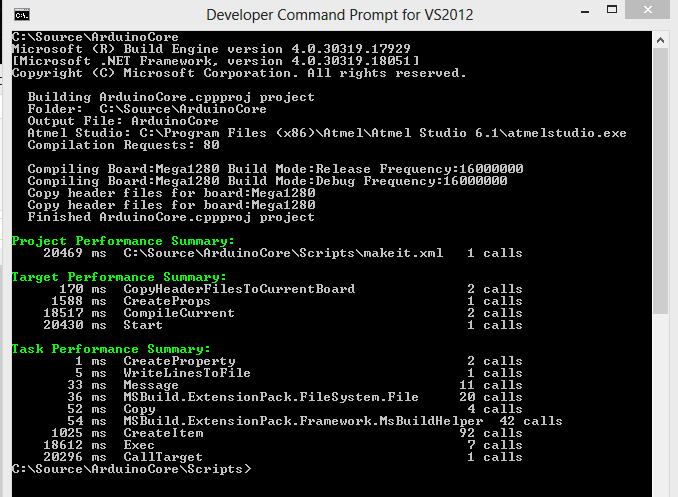
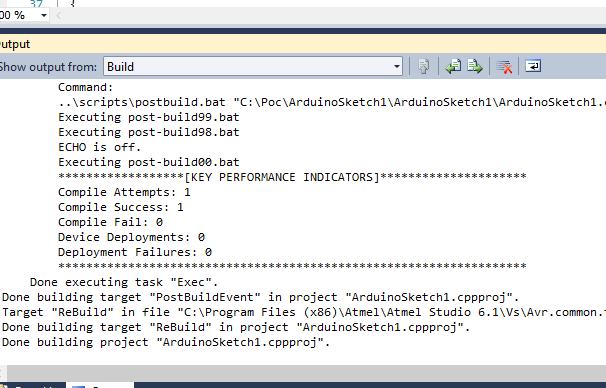
- Go to the directory source\ArduinoCore\Scripts and type makeit compile. This will compile only the current board, which we previously setup to be the Mega1280. See Figure 4 for results of compilation.
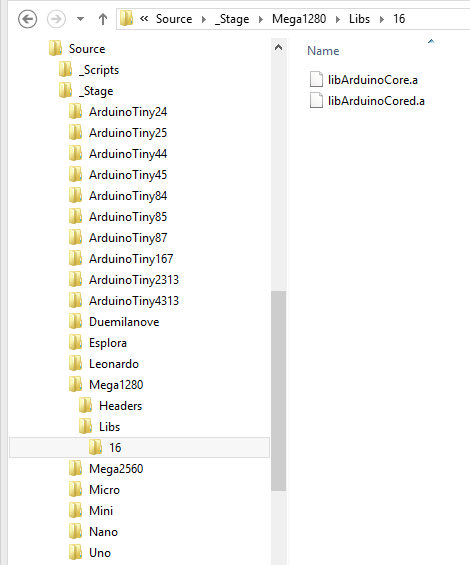
- After compilation is completed, check the directory source\_stage. You will find a Mega1280 directory with sub-directories name Headers and Libs. The Headers contains all headers files for the ArduinoCore and future libraries you compile for this board. The Libs contains a sub-directory for every supported frequency for the board. In this case 16 (representing 16mhz) is the only directory available. Inside the 16 directory you will find the ArduinoCore libraries in release and debug modes. See Figure 5.
- Invoking the script makeit compileall will compile the ArduinoCore libraries for ALL boards supported. This takes a long while and IS NOT required for this tutorial.
- The last step requires copying the Mega1280 folder just created to the %ATE_HOME%\Boards folder. This is the root folders from where Atmel Studio projects pickup libraries for linking sketches. For instance, when you develop a sketch for the Mega1280 board, libraries are expected to be found at %ATE_HOME%\Boards\Mega1280\Libs\16 and headers are located at %ATE_HOME%\Boards\Mega1280\Headers. The frequency at the end of the libs directory changes according to the value of the F_CPU variable.
- To compile other libraries repeat the steps documented in the above section Adding New Board to Target Libraries. In fact you can just copy the <CurrentBoard> and <SupportedBoard> entries created for the ArduinoCore library, see figure 3, and paste it into the targetboards.xml of the library you want to compile. Then go to the source\LibraryIWantToComile\Scripts and run makeit.bat compile. Look in the source\_stage\Mega1280\Libs\16 and you will find the debug and release versions of the compiled library.
Configuring a new board takes is a bit involved the first time you do it since you will need to configure tools, paths, etc. After you get the environment setup correctly and understand the mechanics of adding new boards and configuring projects to support it, adding future boards will take you a few minutes.

