
The Arduino ecosystem consist of an IDE, development boards, development libraries and a vibrant and engaging community involved in the support and expansion of all of the components that make the ecosystem. I acknowledge the pedagogical benefits of the Arduino IDE but if you are already used to Atmel Studio, the Arduino IDE feels like developing with training wheels. The Arduino Template Express (ATE) enables Atmel Studio to create sketches using Arduino libraries and development boards. AVR developers can take the best of the Arduino and continue using Atmel Studio and all the benefits it provides. This post will walk you through the installation of ATE.
Arduino Template Express Configuration
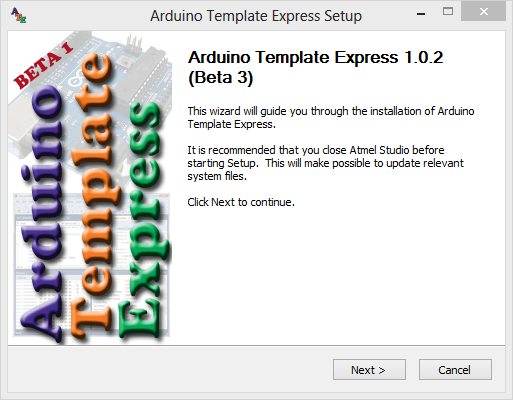
In order to install ATE you must have already installed Atmel Studio 6.1 and Arduino 1.0.4 or higher. Both of these programs must be installed and running successfully. Download ATE from the Arduino Template Express site at CodePlex. Before running setup make sure you close all instances of Atmel Studio that may be running, run atesetup.exe and agree to let the program run with administrative rights. The following screens will guide you to the setup process. As of the writing of this post version 1.0.2 (Beta 3) is available for download.
Press Next to get to the next screen
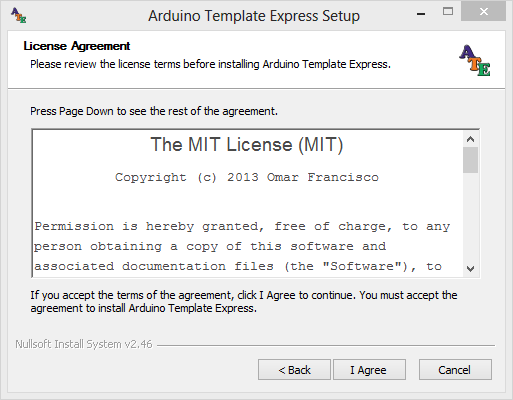
Press “I Agree” to accept the license and move to the next screen.
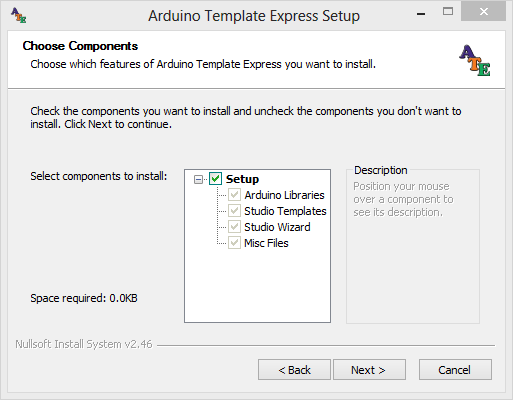
The atesetup.exe program will install pre-compiled Arduino libraries, project templates and a wizard to drive the initial configuration of sketches. Click Next to continue.
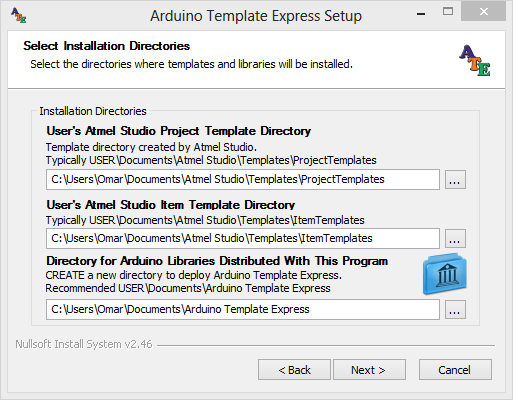
This screen let’s you select the directories where Atmel Studio accepts new templates and the location where you want to store the application. It is advisable to install it in your documents\Arduino Template Express folder. The installer will try to pre-populate the directories for you. Click Next to continue
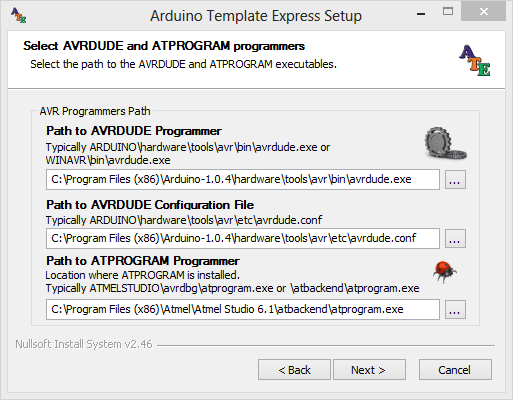
The following screen will attempt selects the location of AVRDUDE and its configuration file also the path for atprogram.exe distributed with Atmel Studio. Note that as of Atmel Studio 6.1 the path of atprogram.exe has changes and now it is under the atbackend directory. The installer will try to find these programs for you, but if does not, you will need to provide their paths before continuing. Press Next to continue.
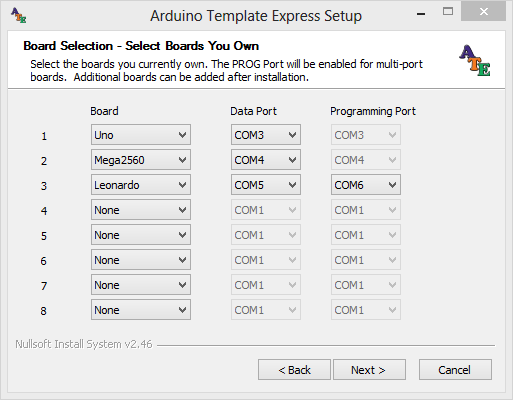
The Board Selection screen allows you to select up to 8 boards you already own. Do not worry, if you have more than 8 boards. After the installation is completed you can add as many boards as you want to the boards.xml file. In my case I have 3 development boards, an Uno, Mega2560 and Leonardo. Note the Leonardo board requires two different ports, one for data and the other for programming. Once you have defined all your boards, press Next to continue.
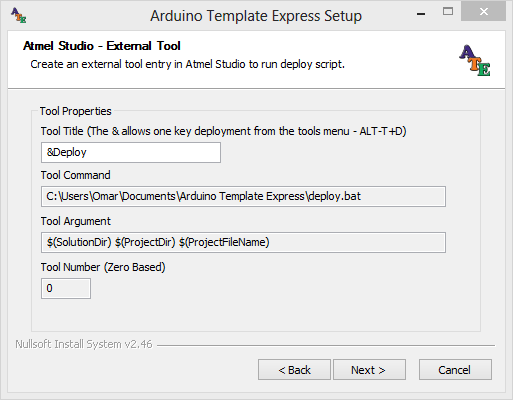
The External Tool configuration configures the option to deploy sketches from within Atmel Studio. The option is configured in the Tools menu and it is recommended that you configure the Deploy option as part of one of the tool bars in order to enable one click deployment. Your screen may be a little different depending on the number of external tools you may have already installed in Atmel Studio. Click Next to continue.
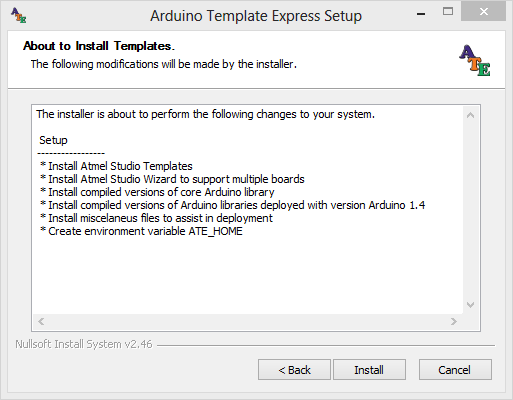
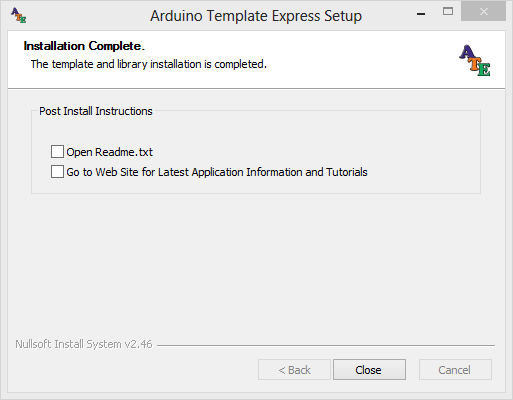
The About to Install screen gives you a list of what is going to be installed. Click Install to continue and after a little while the end of the installation screen will show giving you the option to launch the readme file or go to the web site to get additional information. I suggest you take a quick look at the readme file.
That’s all. Hit close and the installation is completed. If you forget where is the program installed, open a command window and type set | find “ATE_HOME” to find the path where the ATE was installed. Next post I will walk you through the generation of a sketch that blinks the on board LED and uses the serial port.